


Anti-Flutter Foam is crucial for modern cars' structural integrity and ride quality, especially with lightweight materials. Replacement involves careful preparation, gathering tools, cutting old foam, cleaning, applying adhesive, and curing. Proper execution ensures a robust, long-lasting repair.
“Looking to replace your anti-flutter foam? This comprehensive guide offers a step-by-step approach to ensure a seamless process. From understanding the crucial role of anti-flutter foam in ensuring product stability and preventing flutter to gathering the necessary tools and materials, we’ve got you covered.
We’ll walk you through each stage, from efficient removal techniques to secure installation, making your anti-flutter foam replacement an easy task.”
- Understanding Anti-Flutter Foam and Its Purpose
- Prepare for Replacement: Gather Tools and Materials
- Step-by-Step Process: From Removal to Installation
Understanding Anti-Flutter Foam and Its Purpose

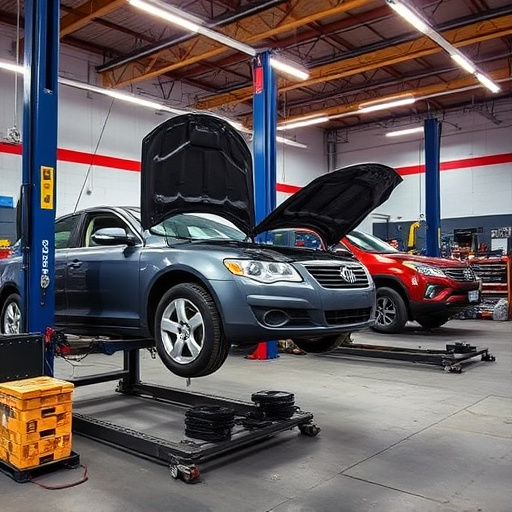
Anti-Flutter Foam, as the name suggests, is a specialized type of foam designed to prevent and reduce unwanted vibrations, commonly known as ‘flutter’ in vehicles. This foam plays a crucial role in various automotive applications, particularly in ensuring optimal performance and ride quality. It is commonly used in vehicle body shops for dent repair and as part of body shop services to address resonance issues that can arise from metal panels and components.
The primary purpose of anti-flutter foam replacement is to mitigate vibrations that can cause discomfort and even damage to a vehicle’s structure over time. This is especially important in modern cars, where lightweight materials are increasingly used to enhance fuel efficiency. However, these materials’ inherent flexibility can lead to unwanted flutter, which the foam helps suppress. By fitting new anti-flutter foam during dent repair or as part of routine body shop services, technicians can ensure that vehicles maintain their structural integrity and provide a smoother, more comfortable driving experience for ‘folks’.
Prepare for Replacement: Gather Tools and Materials

Before diving into the anti-flutter foam replacement process, it’s crucial to prepare your workspace and gather all necessary tools and materials. This preparation phase is a critical step in ensuring a successful and efficient repair job. Start by clearing a designated area for your auto repair near me project, making sure it’s well-lit and has ample space for your vehicle. Gather essential tools like screwdrivers (both flathead and Phillips), pliers, a utility knife, and safety gear such as gloves and goggles. For the materials, you’ll need new anti-flutter foam, which is specifically designed to prevent vibrations and ensure your vehicle’s bodywork remains in top condition. Don’t forget to have access to car paint services supplies if you anticipate needing to touch up any painted surfaces after removal of the old foam. Additionally, consider having a bucket with soapy water for cleaning tools and a towel to wipe down the affected area before beginning the replacement.
Step-by-Step Process: From Removal to Installation

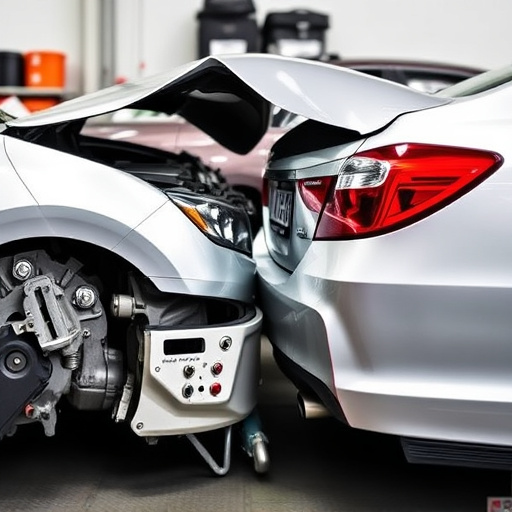
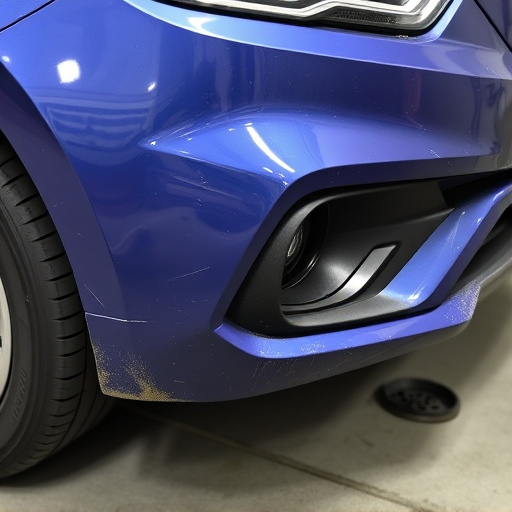
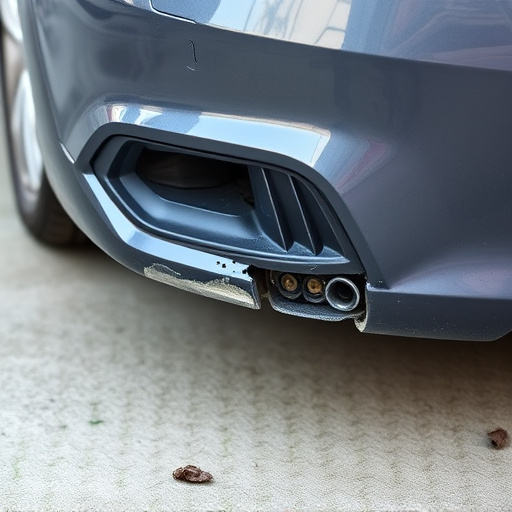
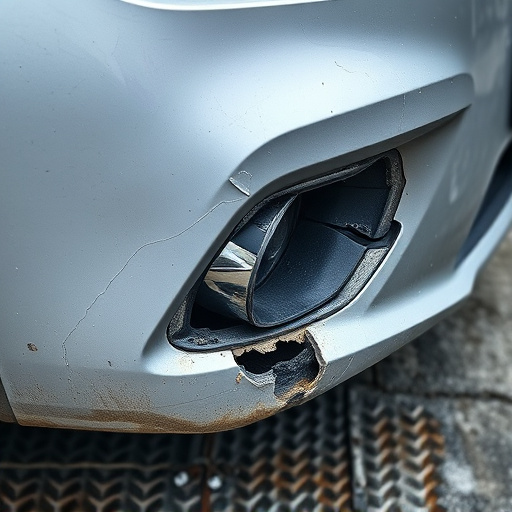
The process of replacing anti-flutter foam, also a crucial component in vehicle bodywork, is an essential step in collision repair centers to ensure proper vehicle restoration. Here’s a straightforward guide outlining the steps from removal to installation. Commence by preparing your workspace; clear the area around the damaged section and gather all necessary tools including a putty knife, replacement foam, and adhesive suitable for auto bodywork. Next, carefully remove the existing anti-flutter foam by cutting it away from the fender or body panel using a sharp blade. Take your time to prevent any damage to surrounding surfaces.
Once the old foam is thoroughly removed, clean the area to ensure optimal adhesion for the new piece. Apply the chosen adhesive along the edges and inside the contoured shape of the replacement foam. Gently press the new anti-flutter foam into place, making sure it fits seamlessly with the vehicle’s original design. Allow adequate time for the adhesive to cure as per manufacturer instructions before proceeding with any finishing touches or painting, ensuring a sturdy and long-lasting repair in your collision repair center’s workshop.
Performing an anti-flutter foam replacement is a straightforward process that can significantly improve your comfort and sleep quality. By understanding the purpose of this foam and following a structured approach, you can easily replace it yourself. With the right tools and materials, the step-by-step guide provided ensures a successful and efficient installation. Remember, a good night’s rest is within reach with this simple DIY project, offering you a quieter, more peaceful sleep environment.