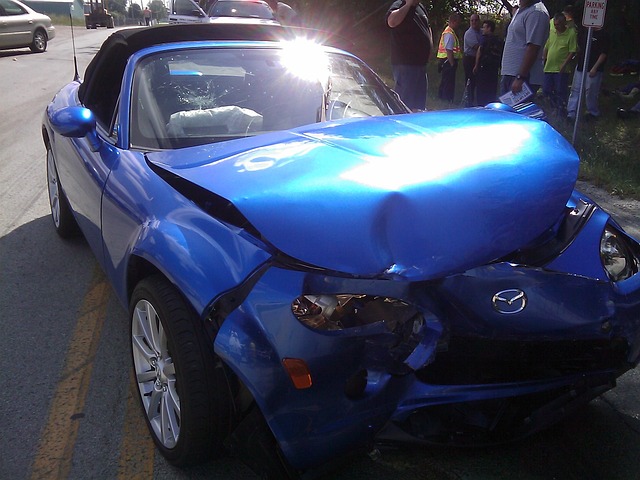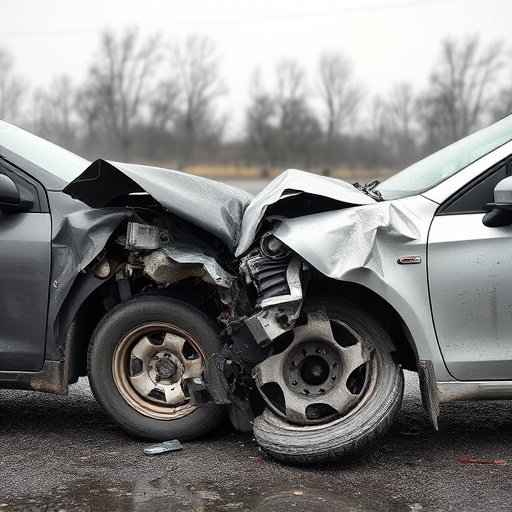
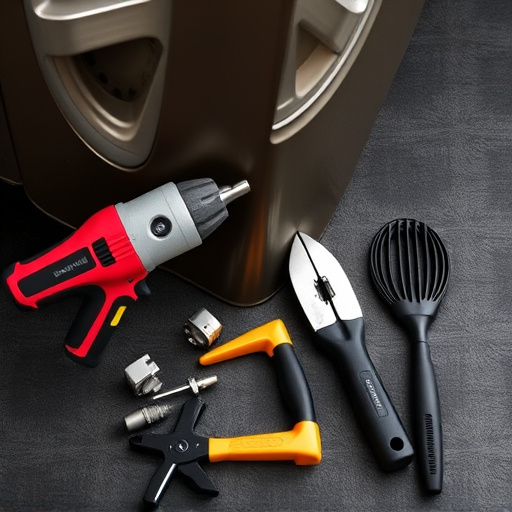


Anti-flutter foam is vital for car repairs, ensuring smooth paint finishes and structural integrity. Accurate replacements require meticulous inspection, measurement, and comparison against original parts. This process guarantees longevity and aesthetic appeal, protecting vehicles from future damage through proper application and curing techniques. Key SEO keyword: anti-flutter foam replacement.
In many construction and furniture restoration projects, matching factory foam patterns during replacement jobs is crucial for both aesthetics and structural integrity. This guide delves into the intricacies of anti-flutter foam—its role in preventing surface warping—and provides a step-by-step assessment process. We explore techniques to ensure seamless matches, fostering longevity and visual harmony. By following these strategies, professionals can masterfully integrate new anti-flutter foam replacements, maintaining the original piece’s integrity and beauty.
- Understanding Anti-Flutter Foam and Its Role in Replacement Jobs
- Assessing the Factory Foam Pattern: A Step-by-Step Guide
- Techniques for Seamless Matching: Ensuring Longevity and Aesthetics
Understanding Anti-Flutter Foam and Its Role in Replacement Jobs
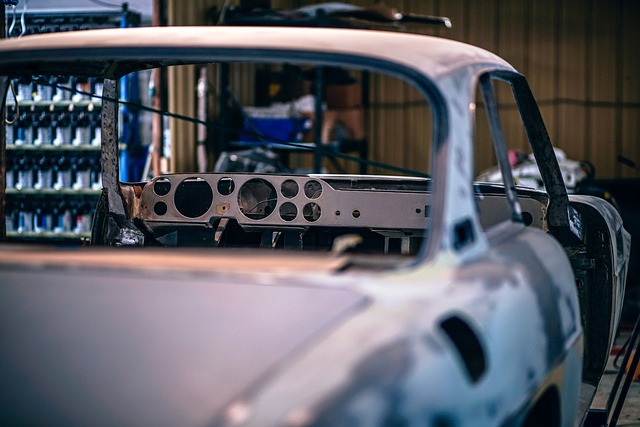
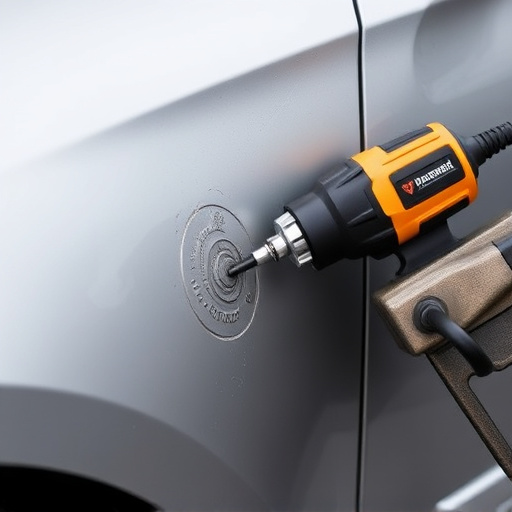
Anti-flutter foam is a specialized material designed to address a common issue in auto bodywork—fluttering or rippling of the paint surface during the healing process. In replacement jobs, where damaged or removed parts need to be replaced, understanding the role of this foam is crucial. Its primary function is to ensure a smooth and even finish on the car’s exterior, which is essential for both aesthetics and structural integrity.
When conducting car repair services, especially in car paint repair, anti-flutter foam acts as a critical component in achieving a professional result. It helps to minimize waves, bumps, or any imperfections that might occur due to the expansion and contraction of the body panel during painting. This is particularly important for maintaining the overall quality of auto bodywork, ensuring a long-lasting, flawless finish that matches the vehicle’s original specifications.
Assessing the Factory Foam Pattern: A Step-by-Step Guide
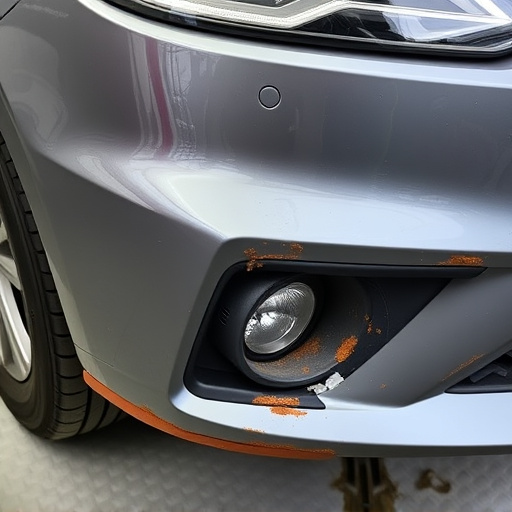
To match factory foam patterns for anti-flutter foam replacement, carefully examining the original foam is crucial. Begin by visually inspecting the surface for any variations in texture, color, or thickness. This initial assessment will highlight peculiarities that can guide your replication process. Next, use a magnifying glass to scrutinize fine details like grain patterns and air bubbles, as these subtle elements contribute significantly to the overall look.
Take measurements of the foam’s dimensions, noting any unique contours or shapes. These measurements ensure accuracy during the replacement job. Compare these findings with available reference images or patterns from the original manufacturer. If possible, consult with vehicle body repair experts or car restoration specialists who can provide insights into specific foam types and their characteristics. This step-by-step guide ensures a precise match, enhancing the quality of your anti-flutter foam replacement in vehicle body repair or car restoration projects.
Techniques for Seamless Matching: Ensuring Longevity and Aesthetics
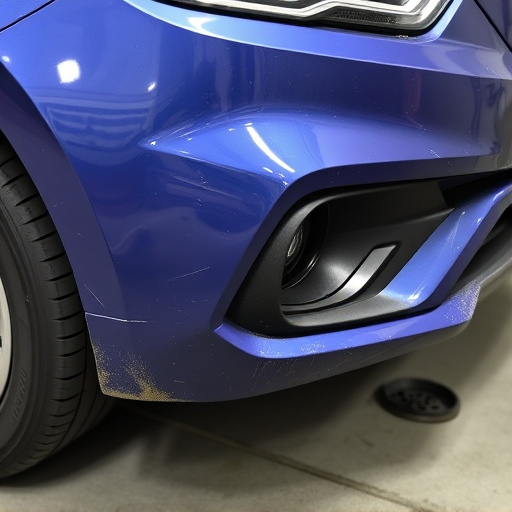
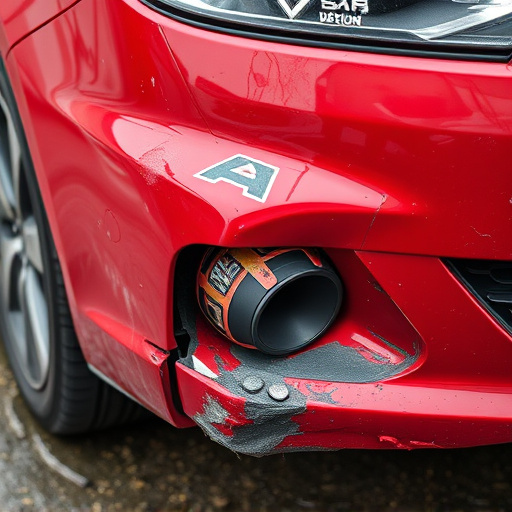
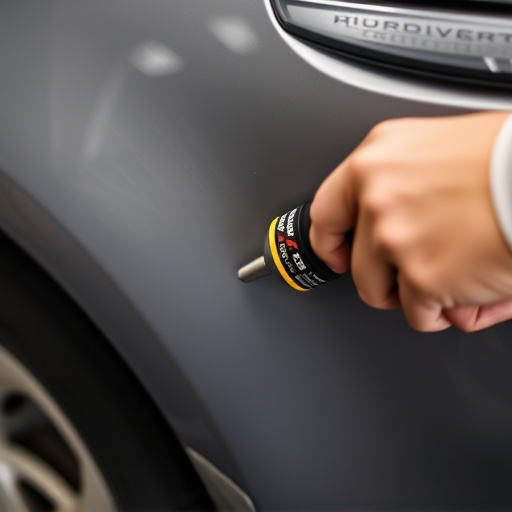
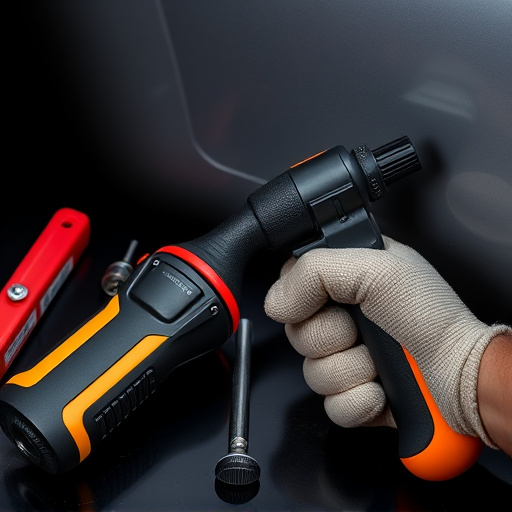
When undertaking replacement jobs using factory foam patterns, achieving seamless matching is paramount to ensure both longevity and aesthetic appeal. A crucial technique involves meticulous measurement and comparison against the original parts. This includes examining the foam’s density, thickness, and texture to match the exact specifications set by the manufacturer. Using anti-flutter foam replacements tailored to these measurements minimizes ripples and ensures a smooth, uniform surface.
Another effective approach is practicing patience during application. Pressing the replacement firmly into place while maintaining proper alignment reduces the risk of misalignment or bubbles that could compromise the final result. Additionally, allowing adequate time for cure ensures the adhesive bonds optimally with the existing surface, enhancing durability in auto body painting and bumper repair scenarios. Proper preparation and adherence to these techniques contribute significantly to restoring the vehicle’s original look and protecting it from future damage.
When undertaking replacement jobs with anti-flutter foam, meticulous attention to detail is key. By following a structured approach to assessing and matching factory foam patterns, you can ensure both longevity and aesthetic appeal in your work. Remember, the right techniques can make all the difference in achieving seamless results that honour the original design.