


Anti-flutter foam replacements in automotive repair demand precise matching for both aesthetics and structural integrity. Repair technicians meticulously study original factory patterns, take measurements, and use specialized tools to ensure accurate texture and color matching. Proper preparation, including inspection, gathering tools, and selecting compatible materials, is crucial for effective results in Mercedes Benz collision repair or fleet repairs.
Matching factory foam patterns for replacement jobs requires careful consideration. This guide delves into the process, starting with understanding diverse foam patterns seen in factories. It then prepares you for an effective anti-flutter foam replacement, a crucial step in maintaining structural integrity and performance. Finally, it offers techniques to achieve precise matching, ensuring your replacements seamlessly integrate with existing components.
- Understanding Factory Foam Patterns
- Preparations for Anti-Flutter Foam Replacement
- Techniques to Achieve Precise Matching
Understanding Factory Foam Patterns
Factory foam patterns are intricate designs that serve as a crucial element in automotive manufacturing, particularly for interior and exterior components. These patterns are meticulously crafted to ensure not only aesthetic appeal but also structural integrity. Each car model boasts unique foam structures, from complex geometric shapes to subtle contours, all designed to enhance comfort, sound insulation, and safety features.
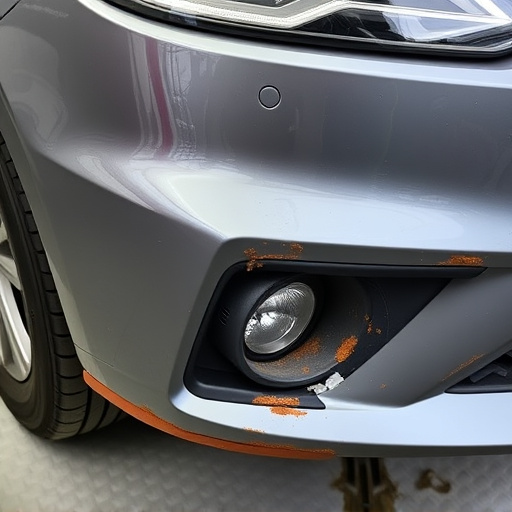
When it comes to replacement jobs, especially in fleet repair services or Mercedes Benz collision repair, understanding these patterns is paramount. Anti-flutter foam replacements require a precise match to maintain the vehicle’s original look and ensure optimal performance. Repair technicians must carefully study the original factory patterns, taking note of every detail, from the depth of indentations to the alignment of edges, to create an exact duplicate. This meticulous attention to detail guarantees that the repaired or replaced component will fit seamlessly, leaving no visible signs of damage or alterations, such as those seen in a fender bender scenario.
Preparations for Anti-Flutter Foam Replacement
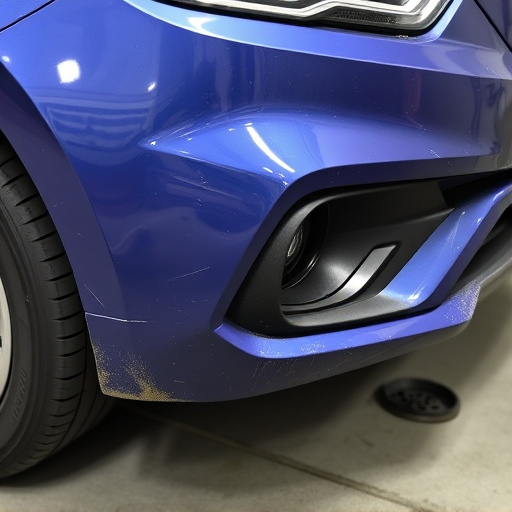
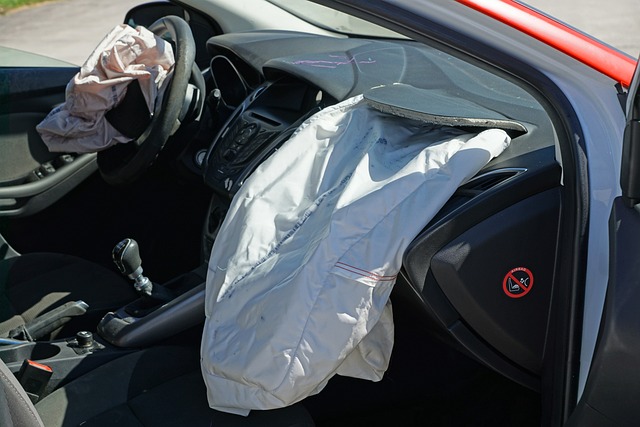
Before undertaking an anti-flutter foam replacement, meticulous preparation is key to achieving a seamless finish. This involves thoroughly inspecting the area to be treated, identifying any existing damage or imperfections in the car bodywork. It’s crucial to address these issues beforehand to prevent further complications during the replacement process.
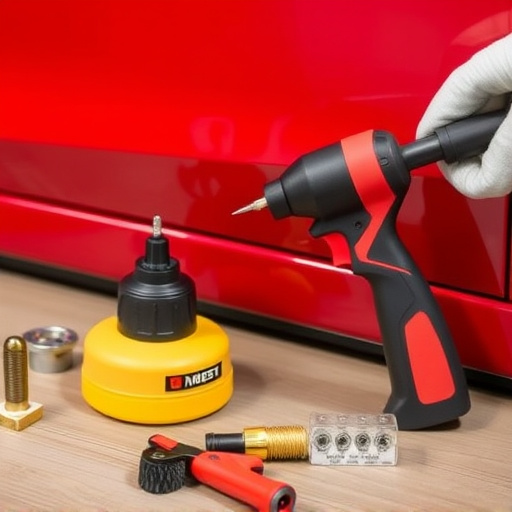
Additionally, gathering the necessary tools and materials is essential. Anti-flutter foam, specifically designed for this purpose, should be at the top of your list alongside appropriate applicators and protective gear. Ensuring compatibility with your vehicle’s make and model is vital; consulting car bodywork services or tire services professionals can help you select the right products for an effective anti-flutter foam replacement, enhancing overall auto maintenance.
Techniques to Achieve Precise Matching
Achieving precise matching during replacement jobs, especially with anti-flutter foam, is a skill honed through practice and an understanding of material properties. One effective technique involves studying the original factory patterns closely, taking detailed measurements, and documenting key characteristics. This process acts as a blueprint for replication, ensuring every cut and contour aligns perfectly.
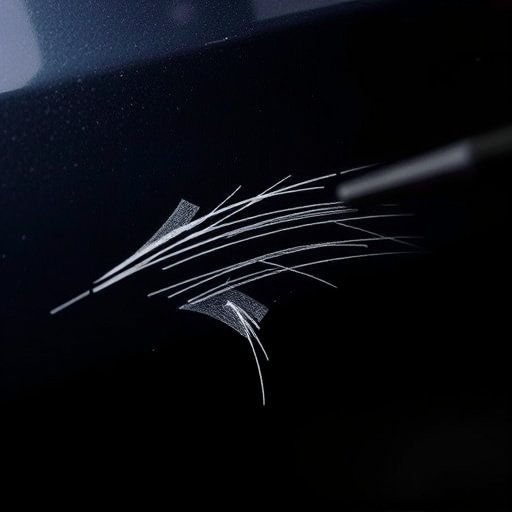
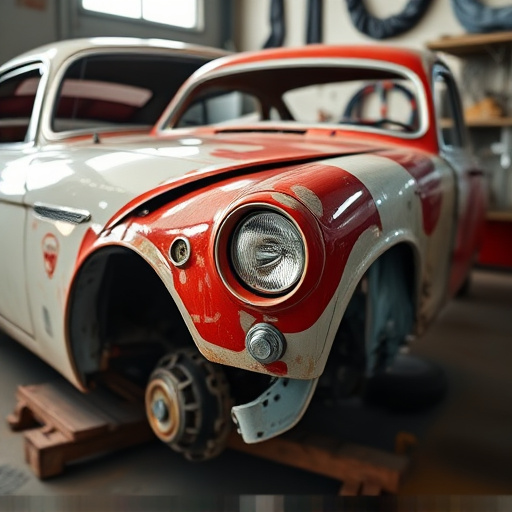
Additionally, professionals in vehicle restoration and collision damage repair often employ specialized tools and techniques to match textures and colors accurately. These may include using high-quality replacement foam with similar density and rigidity as the original, along with advanced sanding and priming methods. By combining meticulous attention to detail and utilizing appropriate tools, technicians can restore a vehicle’s aesthetic integrity, making it nearly impossible to discern the repaired area from the rest in car dent repair scenarios.
When undertaking an anti-flutter foam replacement, a keen eye for detail is crucial. By understanding factory foam patterns, preparing adequately, and employing precise matching techniques, you can ensure a successful and lasting repair. These steps are essential for maintaining the structural integrity and aesthetic appeal of your project, whether it’s a car, boat, or any other foam-clad surface.