


Anti-flutter foam replacement is a critical safety measure for vehicles, addressing flutter during accidents. Effective replacement involves timely repair after degradation from heat, moisture, or wear, as seen in Mercedes Benz collision repairs. The process begins with identifying and gathering tools, demounting damaged foam, cutting out old material, inserting new foam, securing it with adhesive or fasteners, and allowing adequate setting time before reinstallation. Using high-quality, durable foams and compatible automotive-grade adhesives ensures structural integrity, prevents future issues, and enhances vehicle comfort and safety, particularly in classic car restoration projects.
In vehicles, anti-flutter foam plays a critical role in ensuring passenger safety by reducing noise and vibrations. However, over time, this essential component can degrade, requiring meticulous replacement. This article guides you through best practices for effective anti-flutter foam replacement. From understanding the foam’s purpose to choosing the right materials and executing a step-by-step process, we provide practical insights to prevent future issues. Discover how to ensure longevity and maintain an optimal driving experience by mastering this key maintenance task.
- Understanding Anti-Flutter Foam and Its Purpose
- Step-by-Step Guide to Effective Replacement
- Choosing the Right Materials for Longevity
Understanding Anti-Flutter Foam and Its Purpose
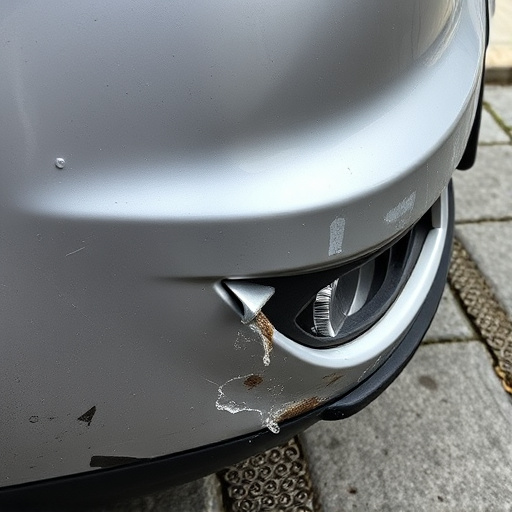
Anti-Flutter Foam, as the name suggests, is a specialized material designed to prevent the occurrence of flutter or chafing in vehicles, particularly during accidents or high-speed maneuvers. This foam is strategically placed within car interiors to absorb impact and protect passengers from severe injuries. Its primary function is to act as a crucial safety feature, enhancing the overall crashworthiness of the vehicle.
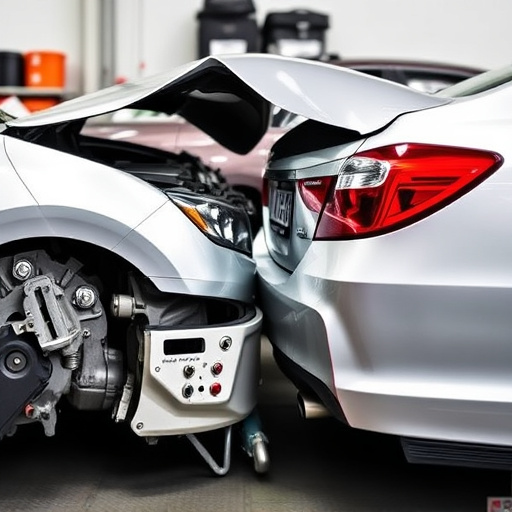
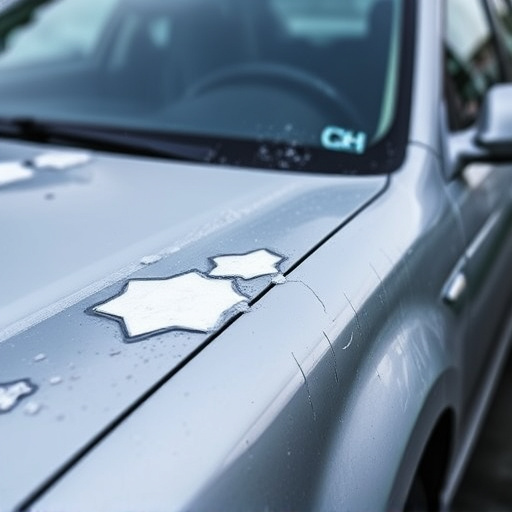
When considering anti-flutter foam replacement, it’s essential to understand its role in auto repair services. Over time, this foam can degrade due to various factors like exposure to heat, moisture, or wear and tear. In a Mercedes Benz collision repair scenario, for instance, replacing the damaged or old foam is vital to restore structural integrity and ensure passenger safety. Efficient replacement practices maintain the vehicle’s original quality and contribute to a seamless driving experience.
Step-by-Step Guide to Effective Replacement
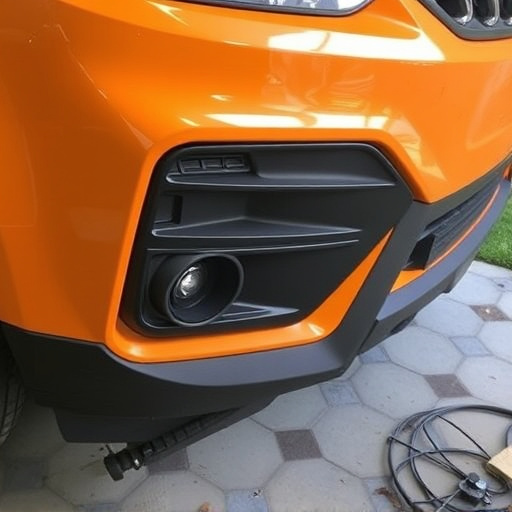
Performing an anti-flutter foam replacement is a crucial aspect of maintaining your vehicle’s interior quality. Start by identifying the affected area, whether it’s in the doors, dashboards, or other components. Next, gather all necessary tools and materials, including the specific type of anti-flutter foam suitable for your vehicle model. Ensure proper ventilation in the work area to avoid inhalation of harmful fumes.
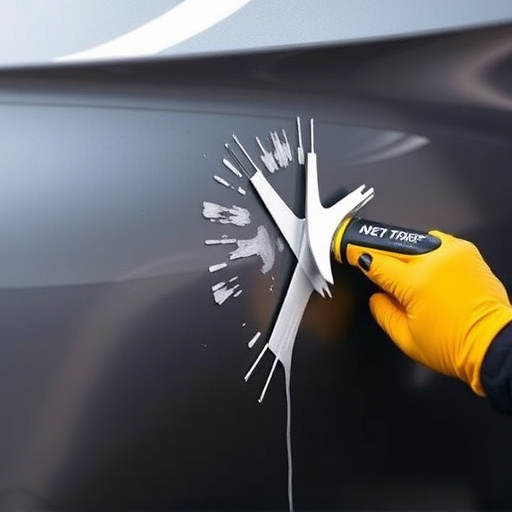
Demonting the damaged foam is the next step. Carefully remove any screws, clips, or adhesive holding it in place. Once freed, clean the surface thoroughly to eliminate dust and debris. After preparing the area, cut out the old foam using a sharp knife or scissors, ensuring a precise fit for the new replacement. Insert the new anti-flutter foam, securing it with suitable adhesive or fasteners. Allow ample time for the adhesive to set before reinstalling any panels or components. This meticulous process guarantees a seamless and effective anti-flutter foam replacement, enhancing both vehicle aesthetics and functionality, particularly in classic car restoration projects.
Choosing the Right Materials for Longevity
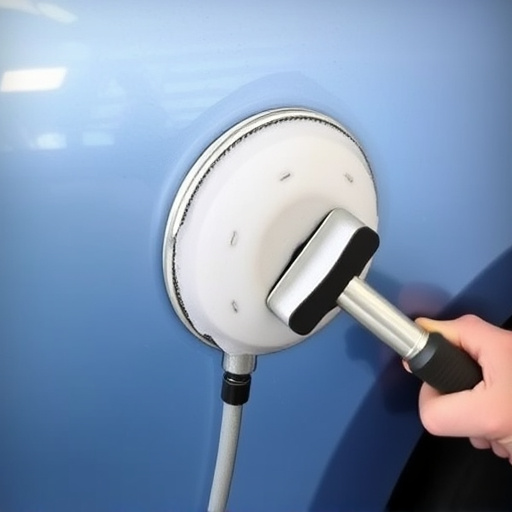
When undertaking anti-flutter foam replacement in vehicles, selecting the appropriate materials is paramount for ensuring long-lasting results. The chosen components must be specifically designed to withstand the rigors of automotive environments, including exposure to varying weather conditions and constant movement. High-quality, durable foams that offer exceptional insulation and vibration absorption are ideal for this application. These specialized materials not only prevent unwanted flutter but also contribute to enhanced vehicle comfort and safety.
Additionally, integrating the right adhesives and sealants is crucial for a successful anti-flutter foam replacement. These products must be compatible with both the foam and the existing car bodywork to create a robust bond. Opting for automotive-grade adhesives and sealants from reputable manufacturers guarantees a secure fit, preventing future issues like loose foam or leaks. Considering the overall goal of maintaining the vehicle’s structural integrity, choosing the right materials forms a critical step in achieving a durable auto glass repair or car body restoration.
In conclusion, effective anti-flutter foam replacement in vehicles requires a thorough understanding of the material’s purpose and careful selection of long-lasting components. By following these best practices, including a step-by-step guide and material considerations, you can ensure optimal performance and prevent future issues with your vehicle’s interior. Mastering the art of anti-flutter foam replacement is a key step in maintaining a comfortable and safe driving environment.