

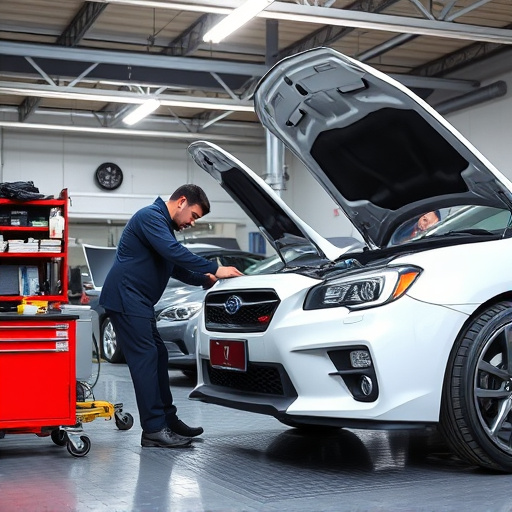
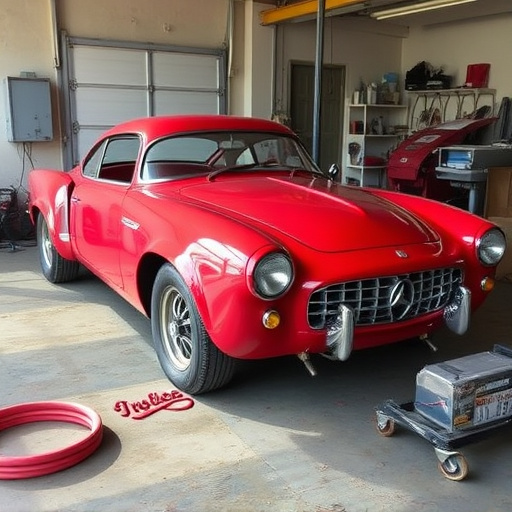
Anti-flutter foam replacement in automotive collision repair requires meticulous planning and precision. Technicians inspect existing patterns, measure dimensions accurately, and source specific foam to ensure structural integrity and optimal performance. Specialized tools with high-res cameras and software further enhance the process for a seamless, professional restoration using anti-flutter foam methods.
“Replace old or damaged factory foam with precision and ensure a seamless fit using these expert tips. This guide delves into the art of matching complex foam patterns, specifically addressing the unique challenges of anti-flutter foam replacement. By understanding the intricate details of factory foam patterns, you’ll gain the knowledge to prepare effectively and employ techniques that guarantee accurate, long-lasting results. Whether tackling a small repair or a large-scale project, these strategies will empower you to master the craft.”
- Understanding Factory Foam Patterns
- Preparing for Anti-Flutter Foam Replacement
- Techniques to Ensure Accurate Matching
Understanding Factory Foam Patterns
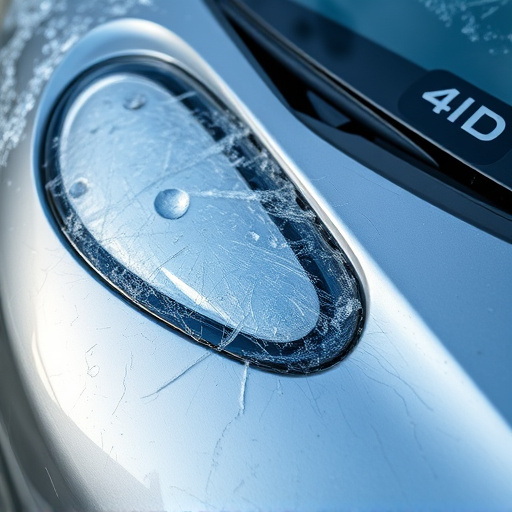
Factory foam patterns are intricate designs and textures used in automotive manufacturing to ensure vehicle safety and comfort. These patterns are engineered to meet specific performance criteria, including impact absorption, sound insulation, and structural integrity. When matching foam for replacement jobs, especially in collision repair services or car dent repair, understanding these patterns is crucial. The anti-flutter foam replacement process involves closely examining the original pattern, its thickness, and density, as well as the material composition to ensure a perfect fit and seamless integration with the automotive restoration process.
Each factory foam pattern is unique, designed according to vehicle models, years, and intended use. Collision repair technicians must be adept at identifying these patterns, often using specialized tools and references to match the exact specifications required. This precision is vital for maintaining the structural integrity of the vehicle and ensuring that the replacement parts, whether it’s a new door panel or a repaired surface, blends seamlessly with the existing foam structure in both appearance and performance.
Preparing for Anti-Flutter Foam Replacement

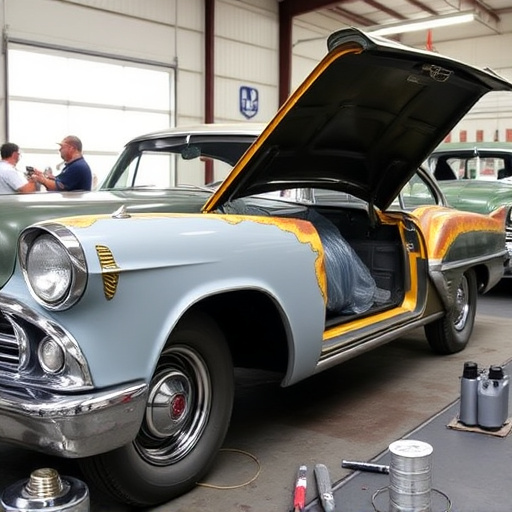
When preparing for an anti-flutter foam replacement, especially in automotive restoration or classic car restoration projects, meticulous planning is key. The first step involves thoroughly inspecting the existing car body to identify the specific pattern and design of the original anti-flutter foam. This meticulous observation ensures a precise match during the replacement process, maintaining the aesthetic integrity of the vehicle.
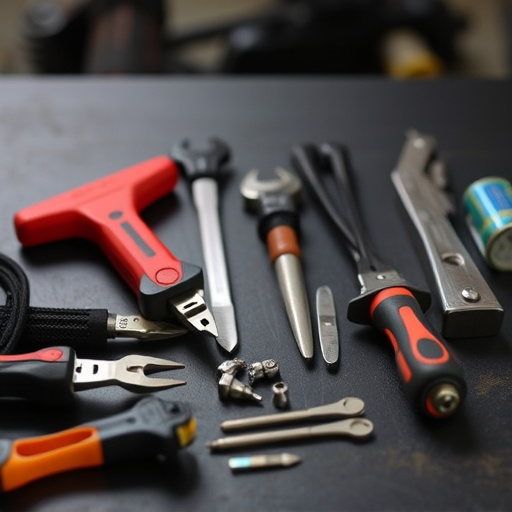
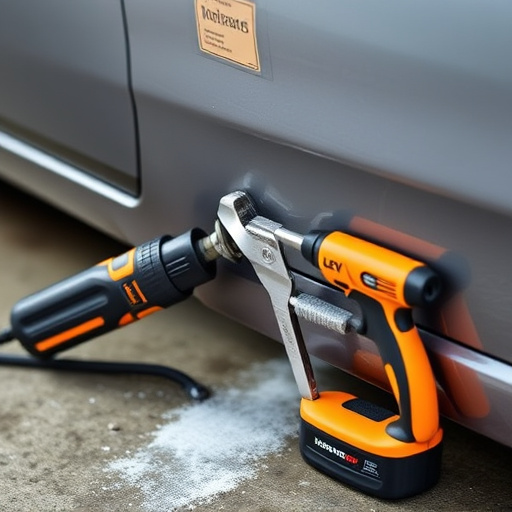
Next, source high-quality anti-flutter foam that aligns with the exact specifications of your car model. In car body restoration, this level of detail is crucial to prevent any issues related to vibration or noise that could arise from improperly matched foam. Have all the necessary tools ready, including scissors or a utility knife for trimming, ensuring a clean and seamless fit.
Techniques to Ensure Accurate Matching

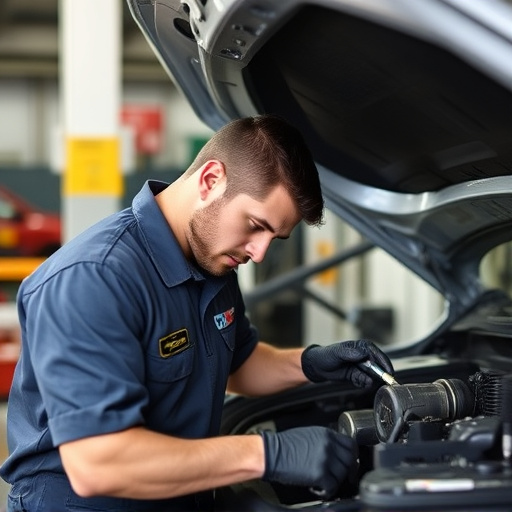
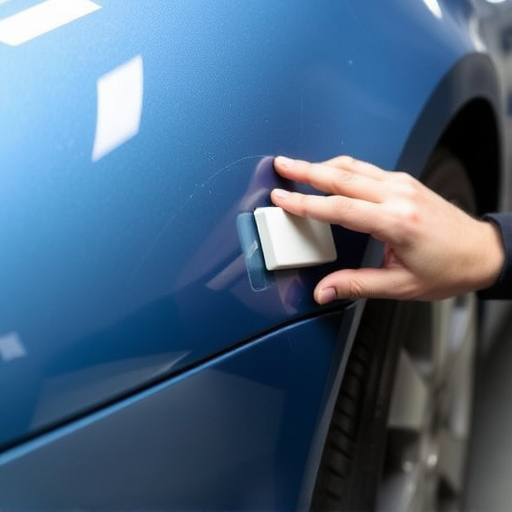
When undertaking replacement jobs with anti-flutter foam, achieving an accurate match is paramount for professional auto collision repair. To ensure seamless integration into car bodywork services, several techniques can be employed. Firstly, meticulous measurement and inspection are crucial. Take detailed measurements of the existing foam pattern, noting its unique contours, angles, and dimensions. Compare these against replacement options to find the closest match available.
Additionally, utilizing specialized tools designed for automotive collision repair can significantly aid in accurate matching. These tools often include high-resolution cameras and digital measurement software that capture and analyze the intricate details of the original foam pattern. By combining precise measurements with the latest technology, you enhance the likelihood of a perfect fit during the car bodywork services process, ensuring the repaired area looks as good as new.
When replacing factory foam, especially in anti-flutter applications, accurately matching patterns is key. By understanding the original foam’s construction and employing precise techniques, you can ensure a seamless fit and finish. Through careful preparation and attention to detail, achieving an indistinguishable replacement becomes achievable, enhancing the overall quality of your work.