

The anti-flutter foam is vital for classic cars' interior construction, preventing cabin vibrations and ensuring a quiet ride. Effective replacement involves understanding its role, selecting suitable materials, systematic removal and installation, and thorough testing for optimal noise suppression. Post-replacement, regular maintenance checks by skilled technicians guarantee the solution's effectiveness and longevity, adhering to OEM guidelines using specialized equipment.
In the realm of automotive manufacturing, ensuring structural integrity and passenger safety is paramount. The anti-flutter foam plays a crucial role in achieving this by minimizing unwanted vibrations. This article provides OEM guidelines for effective anti-flutter foam replacement procedures. We delve into the significance of these foams, offer step-by-step replacement instructions, and highlight strategies to ensure optimal performance post-replacement. By following these practices, automotive professionals can maintain high standards and deliver top-tier vehicle quality.
- Understanding Anti-Flutter Foam Significance
- Step-by-Step Replacement Procedures
- Ensuring Optimal Performance Post-Replacement
Understanding Anti-Flutter Foam Significance
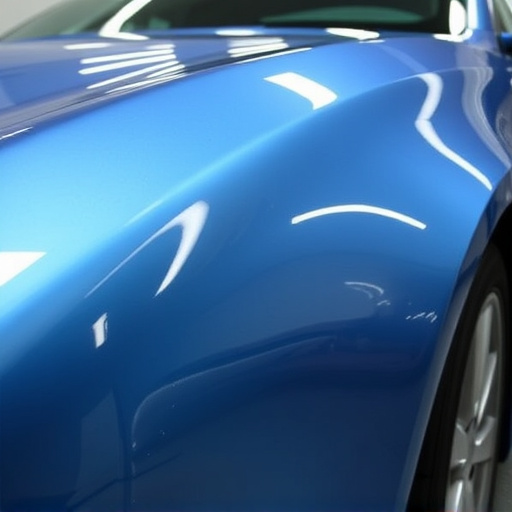
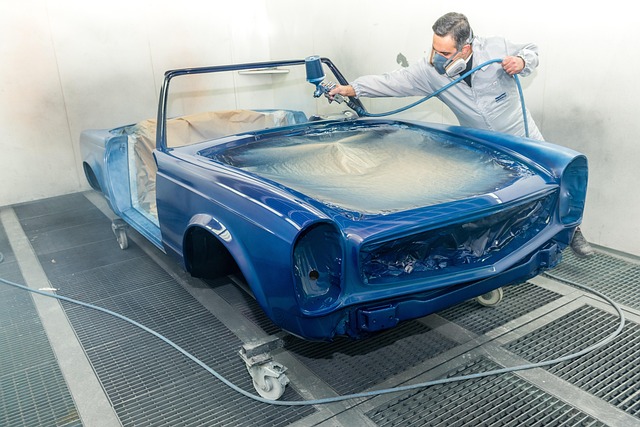
The anti-flutter foam plays a pivotal role in vehicle interior construction, particularly in cars known for their classic designs and intricate detailing. This specialized foam is designed to prevent unwanted vibrations and flutter within the car’s cabin, ensuring a quiet and comfortable ride. During the process of anti-flutter foam replacement, it’s crucial to grasp the significance of this component to achieve optimal results in both modern and vintage vehicle models alike.
In classic car restoration projects, where every detail matters, proper car body repair techniques require a thorough understanding of the foam’s functionality. When replacing this foam during repairs or as part of a vehicle paint repair process, the goal is to maintain the original aesthetics while enhancing structural integrity. This involves selecting suitable materials that can mimic the properties of the original anti-flutter foam, ensuring a seamless fit and effective vibration control for a serene driving experience.
Step-by-Step Replacement Procedures

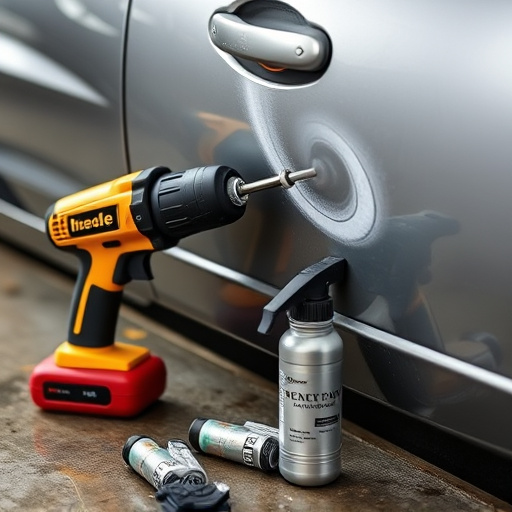
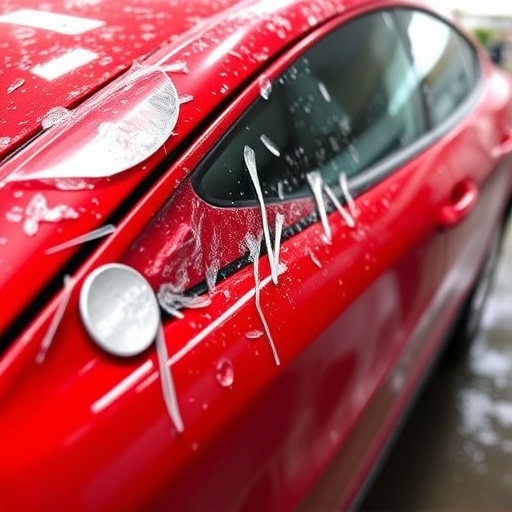
When performing an anti-flutter foam replacement, a systematic approach is crucial for ensuring both effectiveness and longevity in your auto body repair or classic car restoration project. Start by identifying the exact location where the flutter is occurring, often visible as vibrations or waves on the surface. Once located, carefully remove any damaged or degraded foam using appropriate tools to expose the underlying structure.
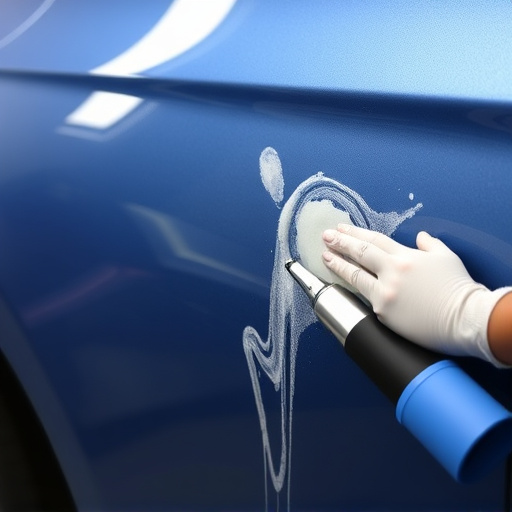
Next, measure the dimensions of the affected area to procure the right size replacement foam. Clean the space thoroughly to eliminate any debris or remnants. Apply a bonding agent recommended by the OEM (Original Equipment Manufacturer) guidelines to ensure secure adhesion. Place the new anti-flutter foam in position, aligning it precisely with the surrounding components. Finally, use pressure and tools as directed by the guidelines for a proper seal, completing the anti-flutter foam replacement procedure within an auto body shop’s professional environment.
Ensuring Optimal Performance Post-Replacement

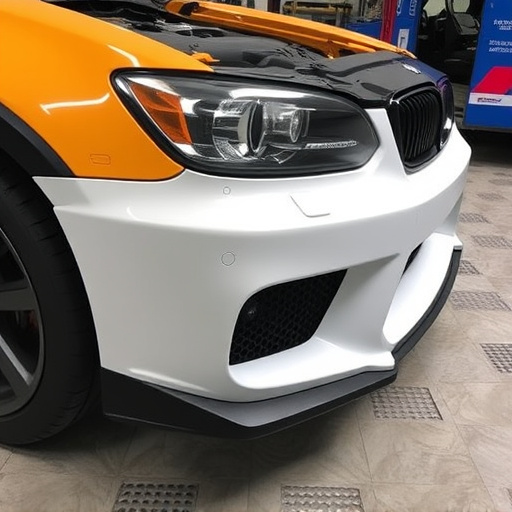
After successfully completing an anti-flutter foam replacement procedure, it’s paramount to ensure optimal performance from the newly installed foam. This involves thorough testing and calibration to guarantee that the replaced foam effectively suppresses unwanted flutter noises, enhancing the overall driving experience for vehicle owners. Proper installation techniques and adherence to OEM guidelines are key to achieving this goal.
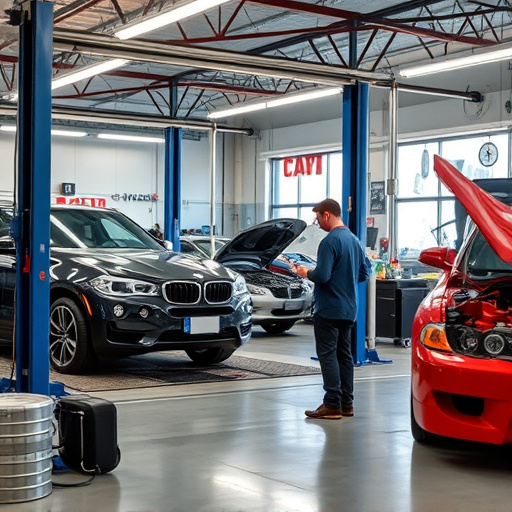
One effective strategy is conducting sound analysis tests post-replacement, using specialized equipment to measure noise levels and ensure they meet the required standards. Moreover, regular maintenance checks by skilled auto body repair technicians can help identify any potential issues early on. Recognizing that many body shop services offer specialized collision repair services, these professionals are well-equipped to address any challenges associated with anti-flutter foam replacement, ensuring both effectiveness and longevity of the solution.
The proper replacement of anti-flutter foam is a key component in ensuring optimal performance and longevity for OEM equipment. By understanding the significance of this foam, following detailed replacement procedures, and confirming post-replacement functionality, manufacturers can maintain high standards and minimize disruptions. Adhering to these guidelines will ultimately contribute to a seamless process, guaranteeing both efficiency and quality in every anti-flutter foam replacement.