


Anti-flutter foam, vital for vehicle stability and comfort, degrades over time. Early detection during auto repairs prevents structural issues. Proper replacement involves safety measures, following manufacturer guidelines, and choosing high-quality foam. Accurate measurement, seamless sealing, and skilled installation ensure optimal performance and prevent air leaks.
Anti-flutter foam is a crucial component in vehicle construction, preventing unwanted noise and vibrations. However, over time, it can degrade, leading to annoying flutter sounds. This article delves into the best practices for effective anti-flutter foam replacement, ensuring peace and comfort in your ride. We explore the causes and effects of foam deterioration, safety measures to follow before replacement, and guide you through choosing the right foam and installation techniques for a seamless process.
- Understanding Anti-Flutter Foam: Causes and Effects
- Preparation: Safety Measures Before Replacement
- Choosing the Right Foam and Installation Techniques
Understanding Anti-Flutter Foam: Causes and Effects

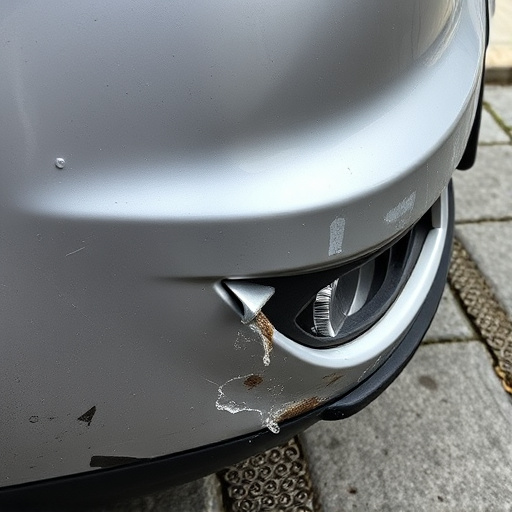
Anti-flutter foam is a crucial component in vehicle construction, designed to prevent excessive movement and vibrations between car panels. Its primary function is to secure and stabilize various parts of a vehicle’s structure, ensuring a smooth ride and minimizing noise levels. However, over time, this foam can degrade due to several factors, leading to what is commonly known as “anti-flutter foam replacement.”
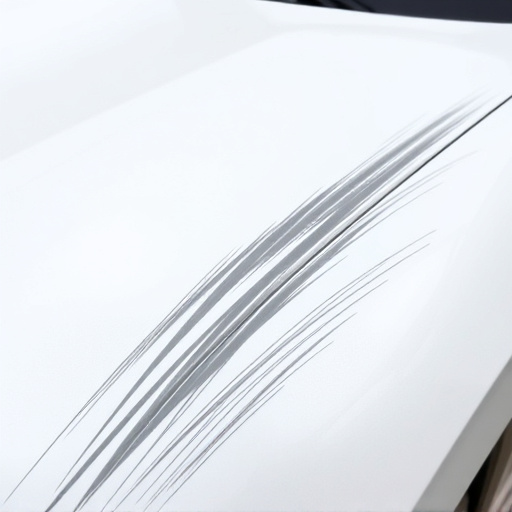
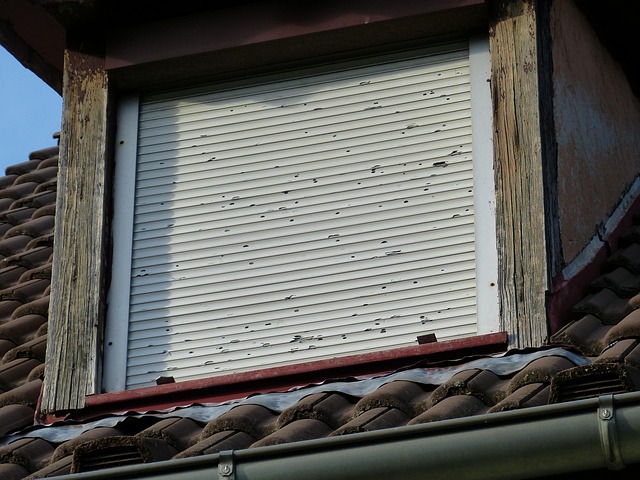
The causes of foam degradation are multifaceted. Exposure to harsh weather conditions, such as extreme heat or cold, can cause the foam to shrink or expand, compromising its effectiveness. Additionally, accidents and collisions can severely damage the foam, leading to cracks or disintegration. During auto repair services, it’s essential to identify these issues early on. If left unattended, faulty anti-flutter foam can result in excessive noise, rattling sounds, and even structural problems within the vehicle. Auto painting and collision repair processes should incorporate careful inspection of this foam to ensure proper replacement, thereby enhancing overall vehicle performance and passenger comfort.
Preparation: Safety Measures Before Replacement

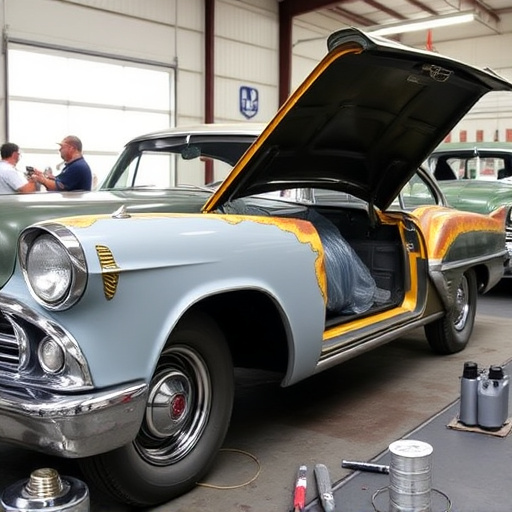
Before embarking on an anti-flutter foam replacement, safety should be your top priority. This process involves working with automotive parts, which can pose potential risks if not handled correctly. First and foremost, ensure proper ventilation in the workspace to avoid inhaling harmful fumes from solvents or adhesives. Protective gear, including gloves, goggles, and a respirator mask, is essential to shield yourself from debris and chemical exposure. Create a clean, organized space to lay out all necessary tools and materials, facilitating efficient work and minimizing the risk of accidents or injuries.
Additionally, it’s crucial to follow manufacturer guidelines and consult vehicle-specific manuals for any special instructions or recommendations regarding anti-flutter foam replacement. Understanding the unique requirements of your car’s make and model will ensure a successful and safe repair process. Remember that proper preparation is key to achieving optimal results in auto glass repair or dent removal, making these safety measures a non-negotiable part of your pre-replacement routine.
Choosing the Right Foam and Installation Techniques

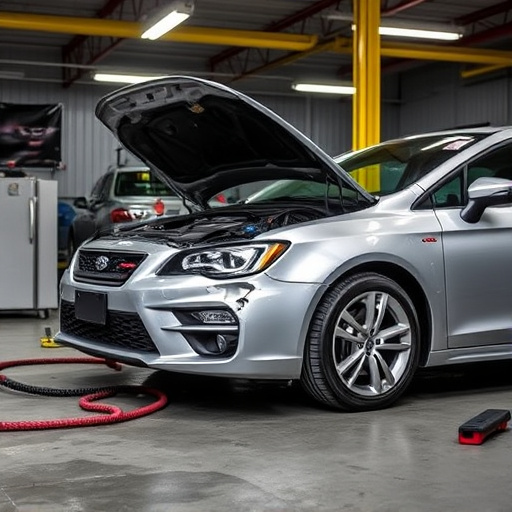
Choosing the right foam is a critical step in successful anti-flutter foam replacement. This involves selecting materials that not only match the original specifications but also offer superior performance in terms of vibration isolation and durability. High-quality foams designed specifically for automotive applications are ideal, as they’re engineered to withstand the rigors of various driving conditions. Additionally, considering factors like density, compression set, and fire resistance ensures a long-lasting solution that maintains vehicle safety and comfort.
Proper installation techniques are equally vital for effective anti-flutter foam replacement. This includes accurately measuring and cutting the foam to fit seamlessly into the designated areas, ensuring proper sealing to prevent air leaks, and using appropriate adhesives or fasteners recommended by the manufacturer. Skilled technicians in collision centers or those offering car collision repair services should employ these techniques to guarantee that the new foam effectively reduces flutter and ensures optimal vehicle performance.
When carrying out anti-flutter foam replacement in vehicles, adhering to best practices ensures not only effective noise reduction but also safety and longevity of the solution. By understanding the causes and effects of anti-flutter foam degradation, preparing adequately with safety measures, and selecting the right foam alongside appropriate installation techniques, you can achieve a quiet, comfortable ride for years to come. This process, when done correctly, serves as a game-changer in mitigating vibration and enhancing vehicle performance.