

Anti-flutter foam replacement is a critical safety measure in automotive body shops, addressing structural vulnerabilities that cause flutter or vibrations during high-speed driving. The process involves strategically placing advanced foams to enhance stability and handling, ensuring optimal balance, reduced noise, and consistent performance after repairs. Choosing the right foam requires matching dimensions, considering mechanical properties, using compatible adhesives, and accounting for environmental factors. Successful implementation necessitates strategic planning, structural assessment, expert consultation, use of advanced tools and materials, proper team training, and regular inspections to maintain durability, safety compliance, and structural integrity.
In the realm of structural integrity, especially in aviation, the anti-flutter foam replacement is a game-changer. This article delves into the intricacies of foam expansion considerations, crucial for successful anti-flutter replacements. From understanding the basics to choosing the right foam and implementing effective strategies, each step demands meticulous attention. Learn how to avoid common pitfalls and ensure optimal performance, enhancing the overall durability and safety of your aircraft. Key focus: anti-flutter foam replacement.
- Understanding Anti-Flutter Foam Replacement: The Basics
- Key Factors in Choosing the Right Foam for Replacement
- Implementation Strategies and Common Pitfalls to Avoid
Understanding Anti-Flutter Foam Replacement: The Basics
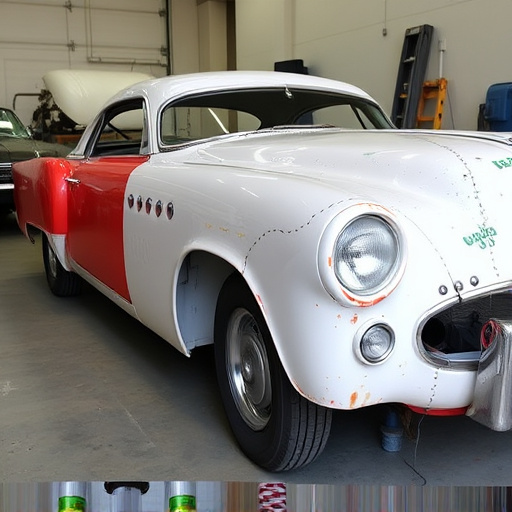
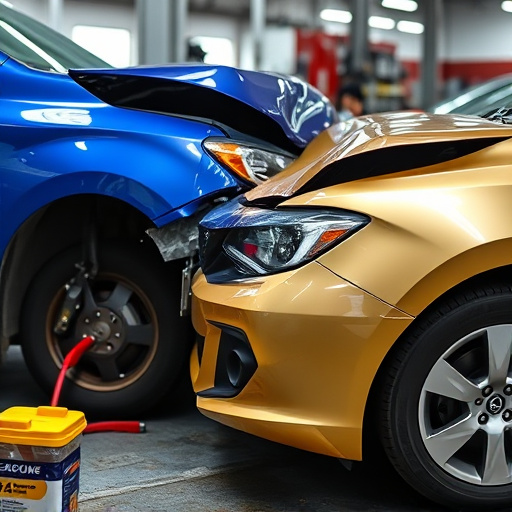
The anti-flutter foam replacement is a critical process aimed at enhancing vehicle safety and structural integrity after a collision. This procedure involves the strategic placement and utilization of specialized foams within automotive body shops to prevent unwanted flutter or vibration in vehicles, particularly during high-speed driving. Flutter, a dangerous phenomenon characterized by rapid, rhythmic vibrations, can compromise a vehicle’s stability and handling, posing significant risks to both passengers and drivers.
In the realm of vehicle repair services, anti-flutter foam replacement plays a pivotal role, especially in mitigating the aftermath of accidents. Automotive body shops equipped with advanced tools and expertise employ this technique to address specific structural weaknesses that might give rise to flutter. By carefully selecting and installing high-performance foams, these professionals ensure that the repaired vehicle maintains optimal balance, reduces noise, and performs consistently on the road, thus providing a safe and reliable driving experience.
Key Factors in Choosing the Right Foam for Replacement
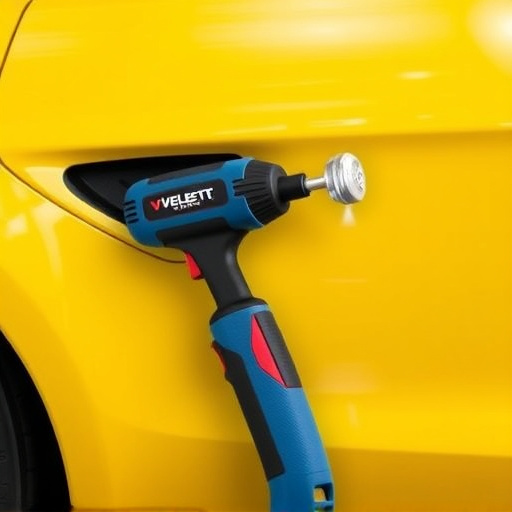
When selecting foam for an anti-flutter replacement, several key factors come into play. First and foremost, understanding the specific requirements of the vehicle’s bodywork is crucial. The chosen foam must match the dimensions and contours of the existing structure precisely to ensure a seamless fit and maintain the vehicle’s aesthetic appeal during restoration. Additionally, the mechanical properties of the foam are essential; it should exhibit adequate flexibility and resilience to withstand the dynamic forces experienced in the car restoration process.
The type of adhesive used for installation also plays a significant role in long-term performance. A compatible adhesive that ensures a strong bond between the new foam and existing materials is vital, especially in collision centers where structural integrity must be maintained. Moreover, considering environmental factors such as temperature variations and exposure to moisture can help prevent premature degradation, ensuring longevity in various weather conditions, particularly for outdoor vehicle bodywork applications.
Implementation Strategies and Common Pitfalls to Avoid
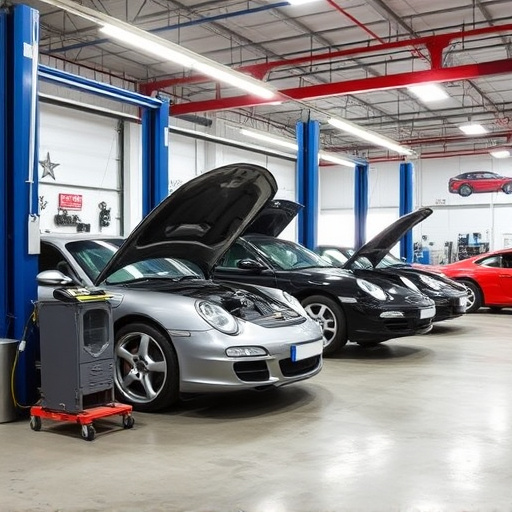
When implementing anti-flutter foam replacement, strategic planning is key to ensuring success. Start by assessing the vehicle’s structure and identifying the optimal placement for the foam. Consult with fleet repair services or autobody repairs experts to understand the specific needs of your vehicles. Utilize advanced tools and materials designed for this purpose to achieve a durable solution that meets safety standards. Proper training for your team is also essential; ensure they’re equipped with the knowledge to handle these specialized components effectively.
While anti-flutter foam replacement offers significant advantages, such as improved vehicle stability and reduced vibration, there are common pitfalls to avoid. For instance, improper installation can lead to inadequate sealing or material degradation over time. Neglecting regular maintenance checks may result in premature failure of the replacement parts. Moreover, using subpar materials could compromise structural integrity. To avoid these issues, maintain open lines of communication with your supplier or collision repair specialist, regularly inspect the foam’s condition, and adhere to recommended maintenance practices for optimal performance and longevity in fleet repair services and autobody repairs.
The successful implementation of anti-flutter foam replacement requires a deep understanding of the material’s basics, careful selection based on specific application needs, and strategic deployment. By considering key factors such as material properties, environmental conditions, and structural requirements, professionals can navigate potential pitfalls and ensure effective solutions for various industries. Optimizing anti-flutter foam replacement processes is crucial for enhancing performance, reducing costs, and promoting sustainability in the long term.